Concrete floor preparation and repair, the step that decides everything
Coatings are only as good as the surface they bond to. Grinding, repair and moisture testing are where long-lasting floors are made, and where most failed floors went wrong. We do this work before every coating and as a standalone service for other trades.
- Methods
- Diamond grinding, shot blasting, scarifying
- Repairs
- Cracks, spalls, joints, pitting, uneven slabs
- Also removes
- Old coatings, thinset, mastic, adhesives
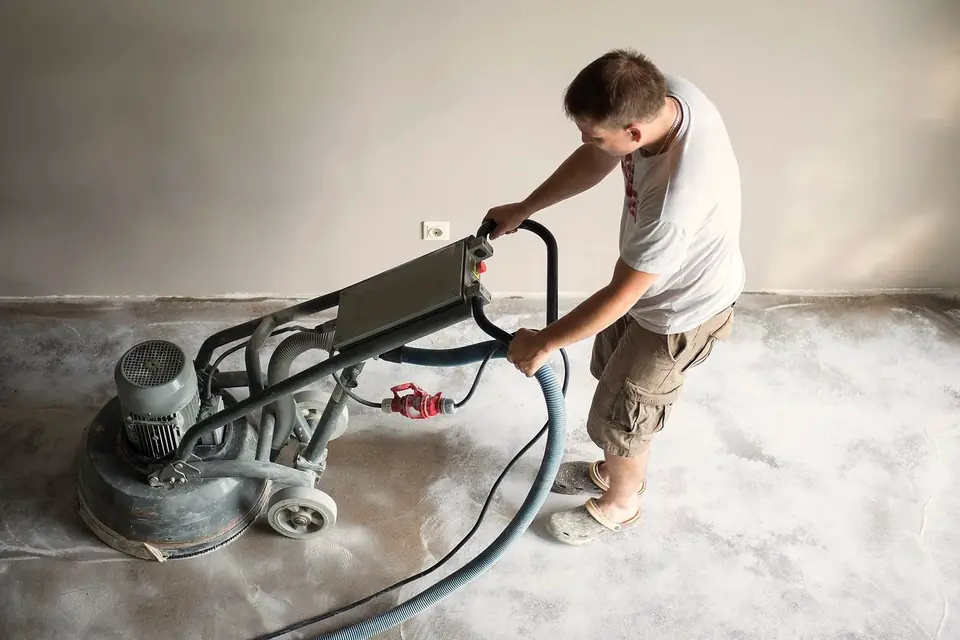
Why preparation matters more than the product
Every coating manufacturer publishes a surface preparation requirement, and almost all of them say the same thing in different words: remove anything weak or contaminated, and give the coating a clean, open, roughened surface to grip. If that does not happen, no amount of expensive product will save the floor.
The top layer of most slabs is a thin, weak paste of cement and fines called laitance. It may also carry curing compounds, sealers, paint overspray, oil or adhesive residue. Coat over that and the floor bonds to the weakest layer present. When it fails, it usually takes that layer with it, which is why peeled coatings often have a skin of concrete stuck to their underside.
Proper preparation removes that layer and replaces a guess with a measurable surface. It is noisy, dusty, unglamorous work, and it is the part of the job we are least willing to shortcut.
Preparation methods compared
The industry describes surface roughness using concrete surface profile (CSP) numbers from the International Concrete Repair Institute, from CSP 1 (nearly flat) to CSP 10 (very rough). Thin coatings need a lower profile; thick systems need more.
| Method | Typical profile | Pros | Cons |
|---|---|---|---|
| Diamond grinding | About CSP 1–3 | Consistent, controllable, removes coatings and laitance, dust-controlled | Slower on very large or heavily coated areas |
| Shot blasting | About CSP 2–5 | Fast on large open areas, good for thicker systems | Harder at edges; can leave striping if not overlapped |
| Scarifying | About CSP 4–9 | Aggressive removal of thick coatings or damaged concrete | Leaves a rough surface that needs filling for thinner systems |
| Acid etching | About CSP 1 at best | Inexpensive, no equipment | Inconsistent; does not remove sealers or oil; leaves residue |
For most residential and light commercial coatings we diamond grind to roughly CSP 2–3. Industrial systems may call for shot blasting or scarifying.
Repairs we handle before coating
Grinding reveals the slab as it really is. These are the repairs that most often follow.
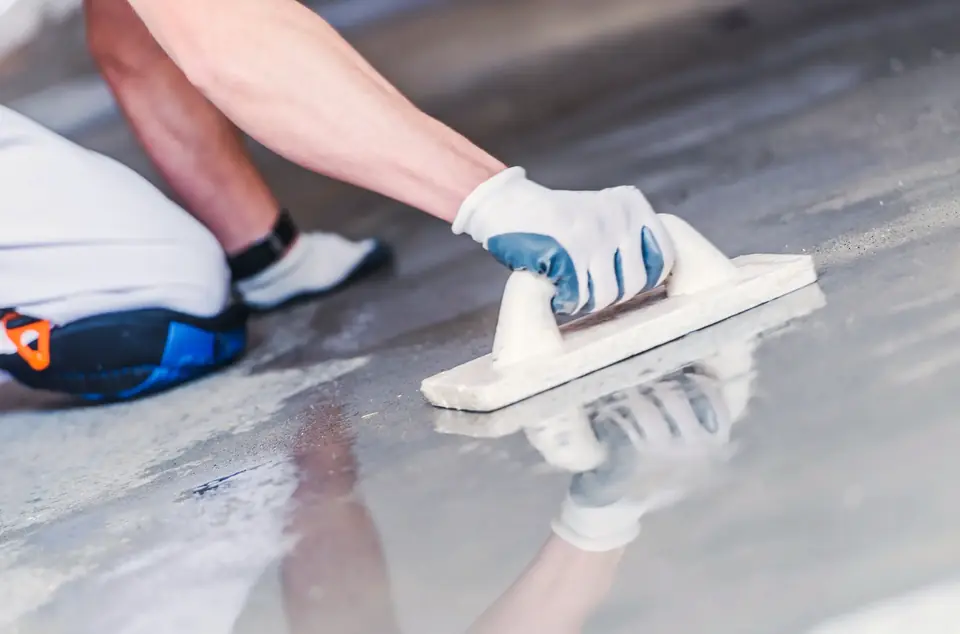
- Cracks
Shrinkage and settlement cracks are routed open so filler can bond to clean sides, then filled with epoxy or polyurea and ground flush.
- Spalls and pop-outs
Broken or flaking areas are cut back to sound concrete and rebuilt with epoxy mortar or repair material.
- Control joints
Joints can be honored and recut after coating, or filled with semi-rigid filler that supports wheels while allowing movement.
- Pitting and bug holes
Small voids are filled with a skim coat or fill material so they do not show through glossy finishes.
- Uneven slabs and lippage
High spots and ridges at slab edges are ground down; low areas are filled to create a flatter plane.
- Old coatings and adhesives
Failed epoxy, paint, carpet glue, VCT mastic and tile thinset are ground off completely.
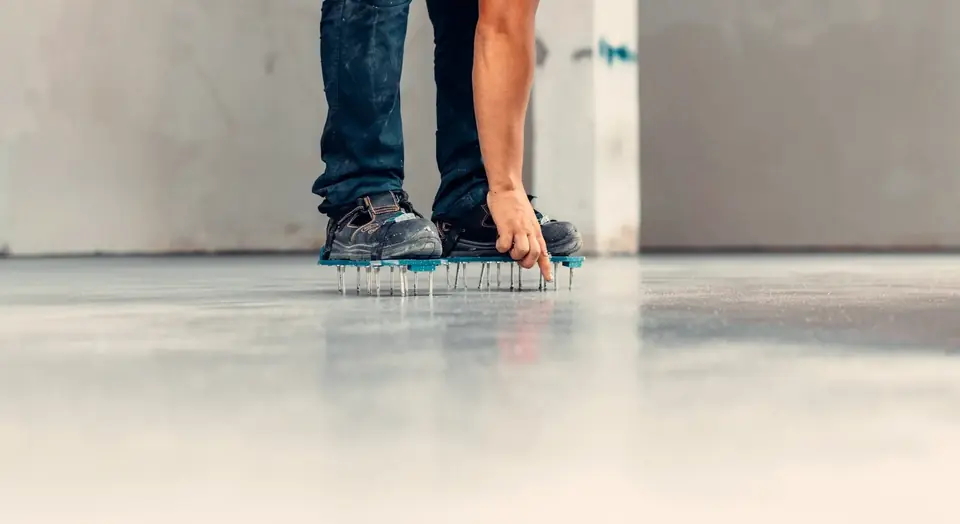
Moisture testing on Valley slabs
Concrete is porous, and slabs on grade can carry moisture vapor up from the soil. Many older Phoenix homes and some commercial buildings were built without a vapor barrier under the slab, and even dry-looking concrete can emit enough vapor to blister or delaminate a non-breathable coating.
Before coating, we test. Depending on the project, that may be a quick screening, calcium chloride testing to measure the vapor emission rate, or relative humidity probes set into the slab. Results are compared with the coating manufacturer’s limits.
If readings are high, there are good options: moisture-tolerant primers and moisture vapor mitigation systems are designed for exactly this situation. The important part is knowing before the coating goes down rather than finding out when it starts to bubble.
- Screening on every slab
- Calcium chloride or in-slab RH testing where needed
- Mitigation primers when readings call for them
- Results shared with you before coating
Signs a previous floor was under-prepared
If you are replacing a failed coating, these clues usually point to prep.
- Peeling at tire tracks in a garage
- Flakes of coating with concrete stuck to the back
- Bubbles or blisters, especially near the middle of the slab
- Coating lifting along cracks or joints
- White powder under the coating when it is lifted
- Peeling that started within the first year or two
- Coating that scratches off easily with a key
- Cloudy or soft areas where moisture is trapped
Dust control and standalone prep work
Diamond grinding produces fine concrete dust that contains crystalline silica, so we grind with shrouded equipment connected to HEPA-filtered dust extractors and use hand grinders with shrouds at edges. Floors are vacuumed thoroughly between steps. In occupied homes and businesses, work areas are sealed off from the rest of the building.
Preparation is also available on its own. Flooring installers putting down luxury vinyl, tile or wood often need old adhesive or coatings removed and high spots ground flat. Owners planning a polished or ground-and-sealed concrete look need the slab opened up and repaired first. And if you simply want to remove a failing DIY coating and start over later, grinding it off is the first step.
Preparation sequence
Inspect and test
Hardness, contamination, cracks and moisture assessed and documented.
Remove coverings
Old coatings, adhesives and thinset ground or blasted off.
Profile the slab
Diamond grinding or blasting to the profile the coating system calls for.
Repair
Cracks routed and filled, spalls rebuilt, joints treated, low spots leveled.
Re-grind repairs
Repairs ground flush so they sit level with the surrounding slab.
Clean and verify
Thorough vacuuming and a final check before primer or handover.
What we look for during a slab assessment
An assessment takes a fraction of the time the installation does, and it saves most of the problems that would show up later.
- Surface hardness
A simple scratch test tells us whether the top of the slab is sound or soft and powdery. Soft surfaces need deeper grinding or consolidation before coating.
- Existing sealers and coatings
Water beading on the surface is a quick clue that a sealer is present. Sealers block primer penetration and must be removed completely.
- Contamination
Oil, grease, silicone, paint and curing compounds are mapped so we can plan extra grinding or treatment in those areas.
- Flatness
A straightedge shows humps, dips and ridges. Glossy and metallic systems reveal flatness problems far more than textured flake floors.
- Crack behavior
Hairline shrinkage cracks behave very differently from cracks with vertical displacement or ones that have widened over time.
- Edges and transitions
Door thresholds, garage stem walls and joins to other flooring need planning so the finished floor ends cleanly.
Removing a failed DIY coating
Peeling garage paint and failed kit coatings are some of the most common things we grind off. Removal is straightforward with the right equipment, and once the old material is gone, the slab is assessed and prepared just like bare concrete. If you are planning to recoat, removal and new coating can be done in the same visit.
Questions we hear about concrete prep & repair
Can I just acid-etch my garage floor instead of grinding?
Acid etching can work on some clean, unsealed slabs, but it is unreliable. It does not remove sealers or oil, it varies across the floor, and the residue must be fully neutralized and rinsed. Grinding is consistent and is what most coating manufacturers prefer.
How dusty is diamond grinding?
With proper shrouds and HEPA dust extraction, most dust is captured at the source. Some fine dust is unavoidable, so we seal off adjoining spaces, especially in occupied homes.
Will repaired cracks show through the new floor?
Dormant cracks that are properly filled and ground usually disappear under the coating. Active cracks that are still moving may reappear over time because the slab itself is moving. We will tell you which is which.
Do you remove tile and thinset?
Yes. Removing tile and grinding off the thinset is a common part of interior projects, especially before metallic floors where any ridges would show.
Do you do prep for other flooring contractors?
Yes. We grind, flatten and remove adhesives for installers of tile, wood, vinyl and other floor coverings, and for owners planning a ground-and-sealed concrete finish.
Can you level a badly uneven slab?
Moderate unevenness can be corrected by grinding high spots and filling low ones. Severe settlement or large differences in height may need a self-leveling underlayment or concrete repair work before coating. We will measure and explain the options.
How long does surface preparation take?
A typical two-car garage is usually ground and repaired in a few hours. Removing old coatings, tile or heavy adhesive takes longer, as do large commercial floors. The time is included in the schedule we give you, not added as a surprise.
Related services
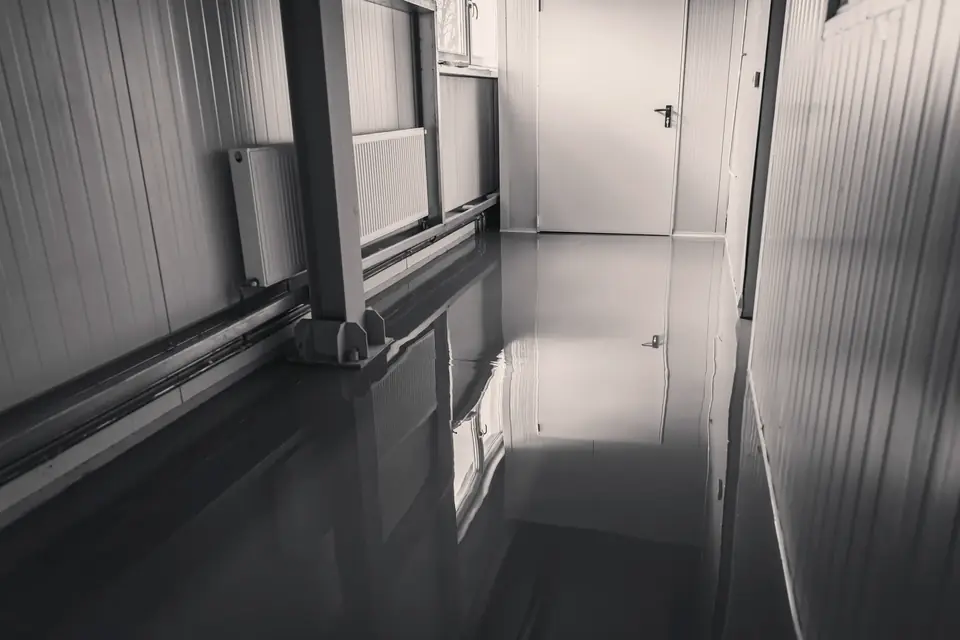
Concrete Floor Coatings
Sealers, clear coats, solid colors and quartz systems for everyday concrete.
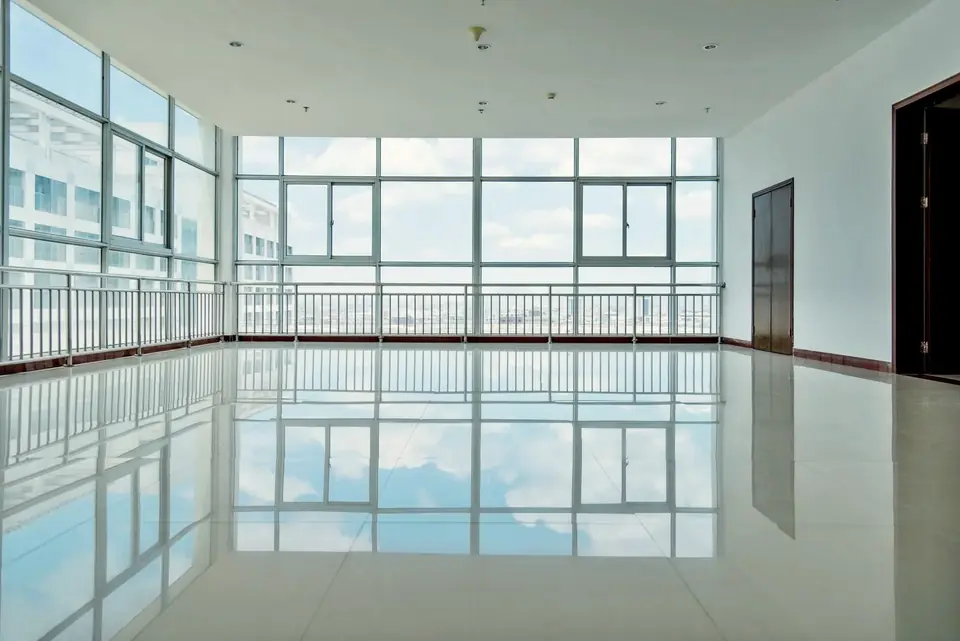
Epoxy Flooring
The full range of epoxy systems and finishes, and how to choose between them.
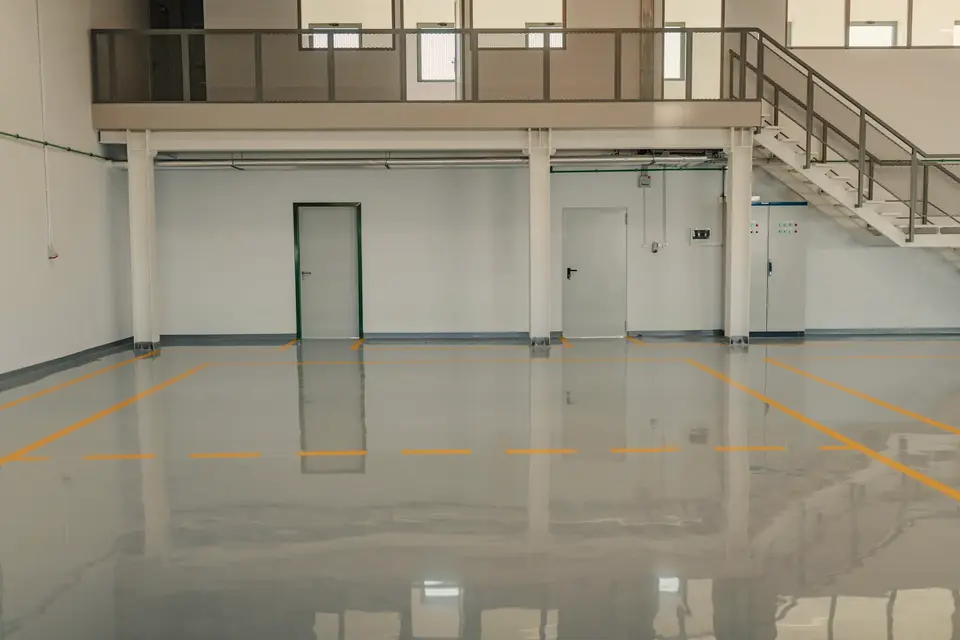
Industrial Epoxy Flooring
Heavy-duty systems for manufacturing, fleet maintenance, hangars and plants.
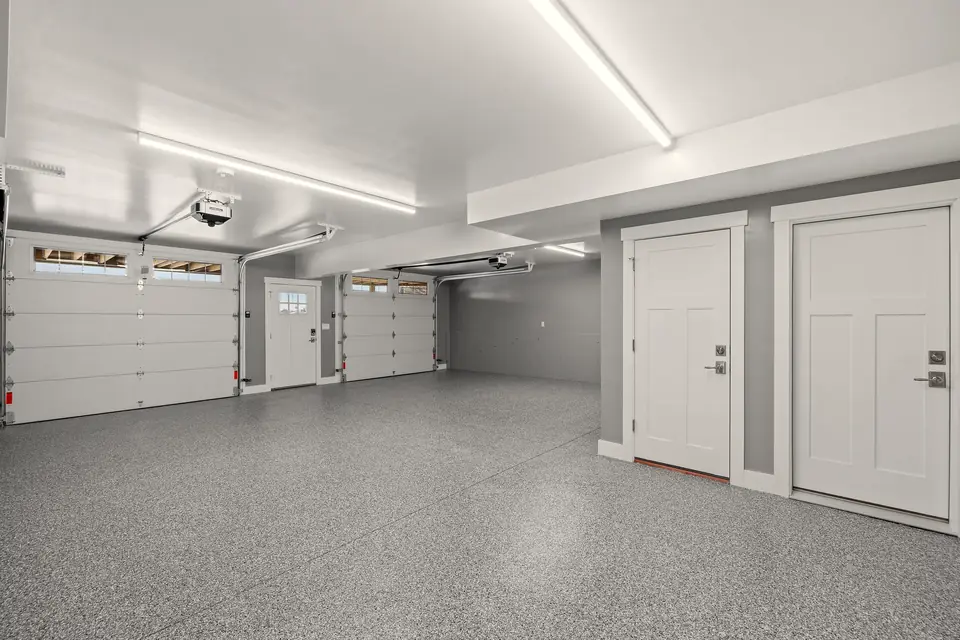
Garage Epoxy Flooring
Full-flake, solid and metallic garage floors with hot-tire resistant topcoats.
Start with a sound slab
Whether you are coating, re-flooring or removing a failed floor, tell us what is on the slab now. We will inspect it, test it and recommend the right preparation.
- On-site look at the slab before any price is final
- Written scope that spells out prep, system and coat count
- Straight answers on cure times and when you can drive on it
Prefer to talk? Call (XXX) XXX-XXXX